How to Add Digital Product Passports to Shopify (Step-by-Step)
Managing compliance doesn't have to be a headache. If you're using Shopify, you can automate your Digital Product Passports (DPP) and turn a regulatory burden into a brand asset.
In this guide, we'll walk you through setting up PassportPro to create compliant, branded passports for your products in minutes. We'll cover everything from installation to your first print run.
Why Shopify + PassportPro?
Traditional compliance solutions are clunky external portals that don't talk to your e-commerce data. PassportPro changes that. By living inside the Shopify Admin, we can:
- Auto-sync product data: We know your products, variants, and SKUs.
- Streamline workflow: Edit passports right where you edit products.
- Ensure security: No need for fresh passwords; uses your existing Shopify permissions.
Step 1: Install PassportPro
First, install the app from the Shopify App Store. PassportPro is built as an *Embedded App*, meaning it lives right inside your Shopify Admin. You don't need to learn a new user interface or manage separate login credentials.
Step 2: Build Your Component Libraries
The secret to efficiency is reusability. Instead of typing "Organic Cotton" for every single t-shirt, you create it once in your *Material Library*.
Go to the Libraries tab in the app to set up:
- Manufacturers: Add your suppliers, their facility locations, and certifications (like GOTS or ISO).
- Materials: Define your core materials (e.g., Recycled Polyester, Merino Wool, Aluminum).
- Substances: If applicable, log substances of concern for regulatory transparency (REACH compliance).
Above: The component library makes it easy to manage data across thousands of SKUs.
Step 3: Create Your Passports
Navigate to any product in your Shopify Admin and look for the Digital Product Passport block.
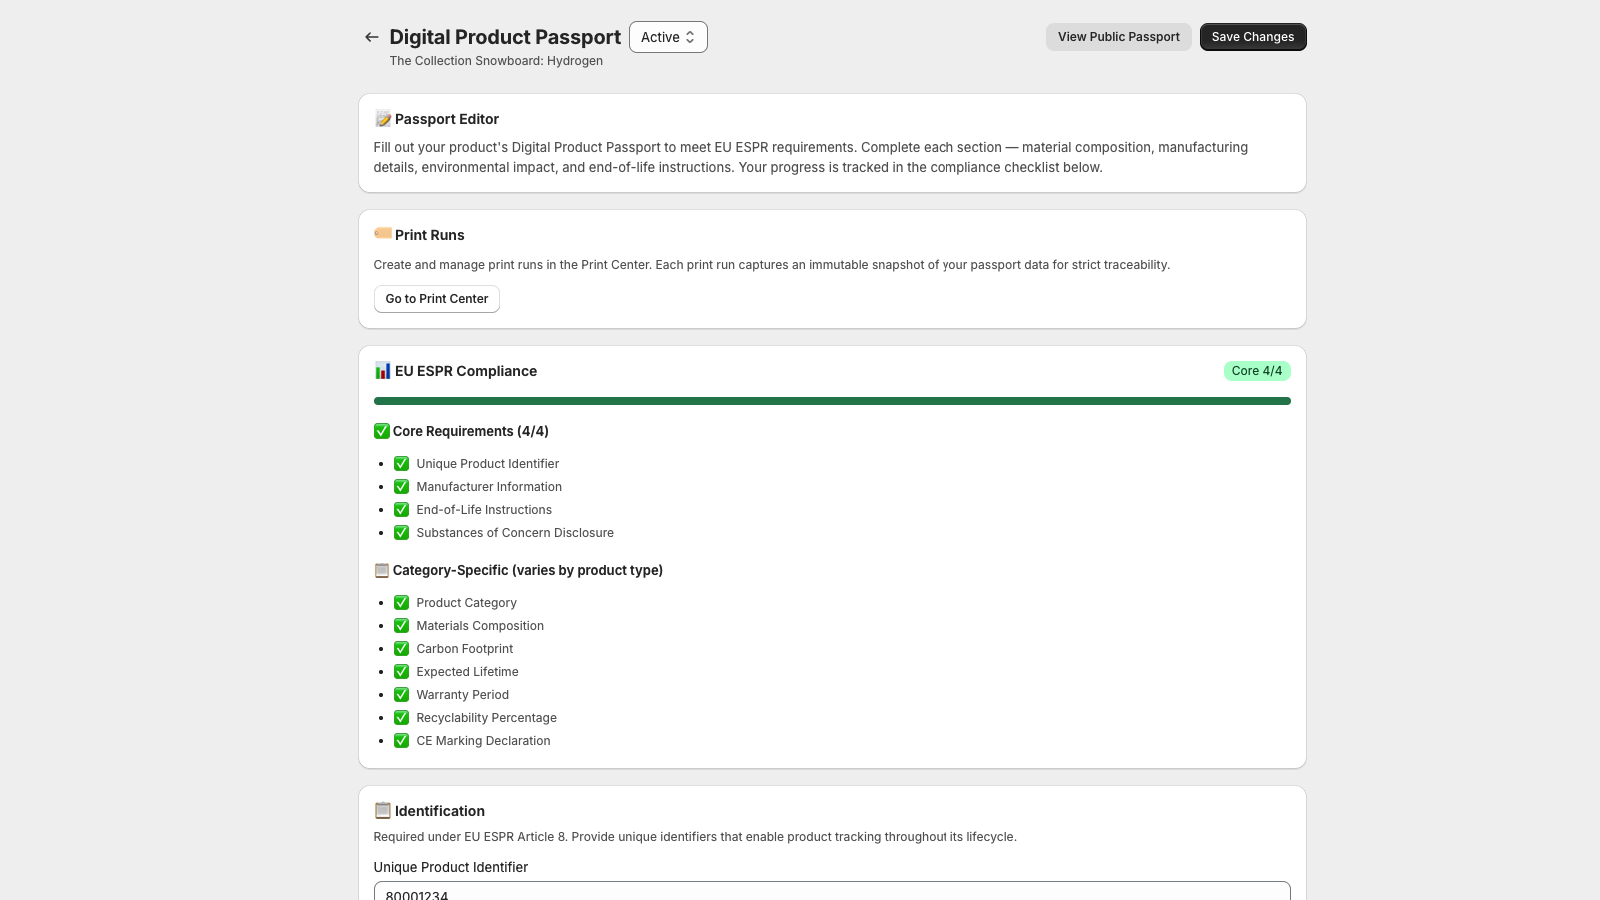
Simply select your materials, choose the manufacturer, and add compliance details (like CE markings). The app calculates your recycling score and environmental impact automatically based on the components you selected.
Step 4: Generate QR Codes for Print Runs
Compliance requires traceability. A static QR code on your master product isn't enough if your manufacturing batch details change over time.
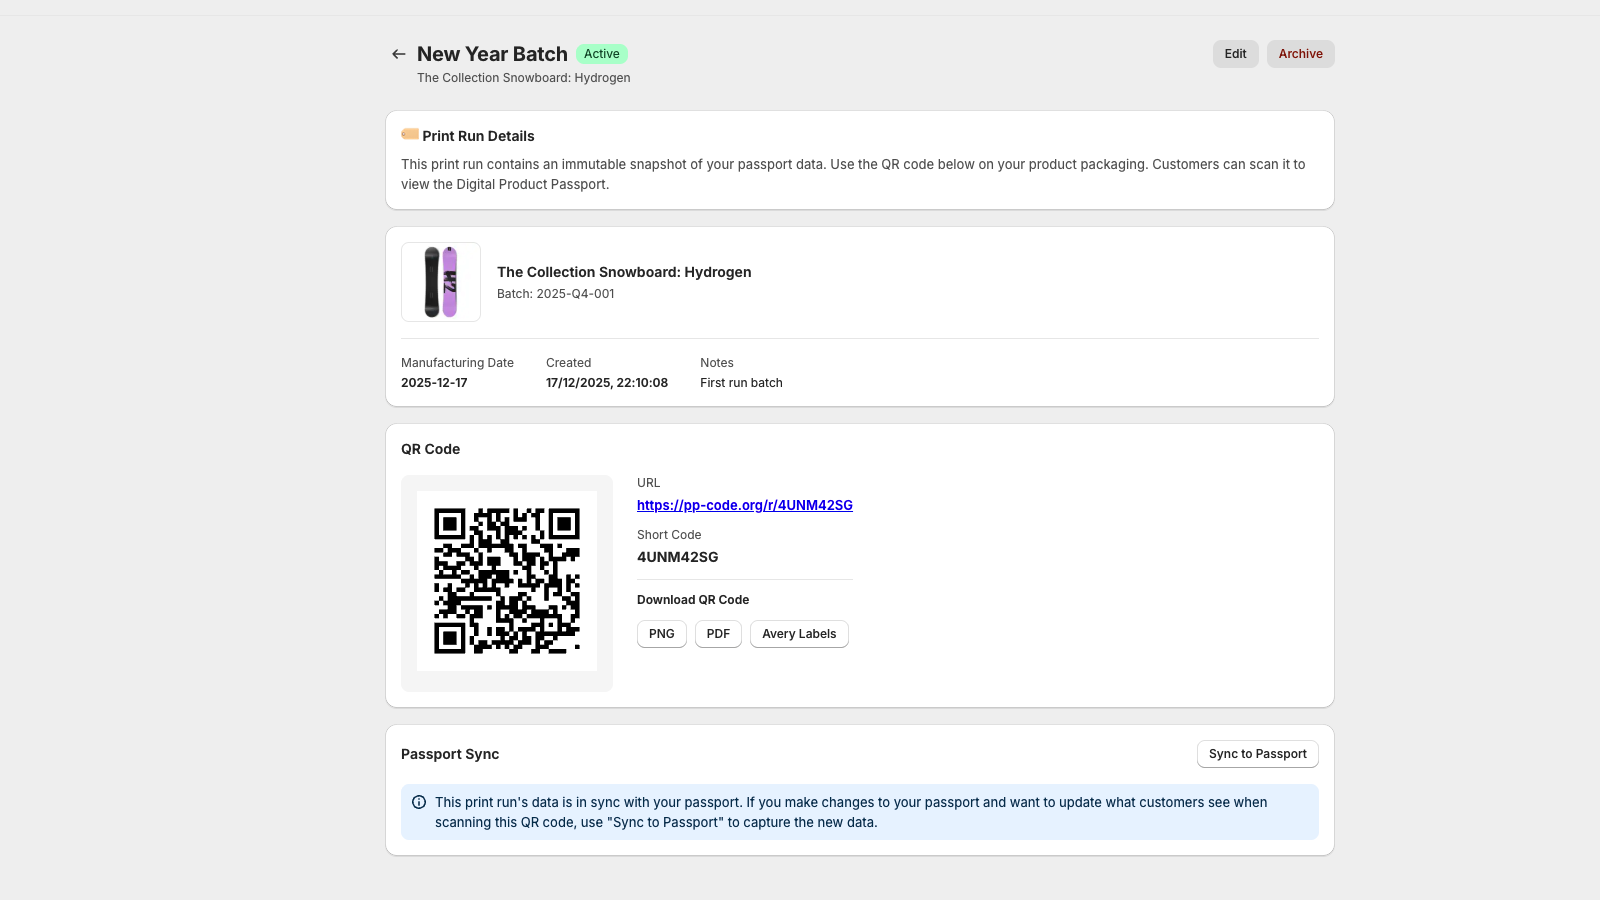
Use the Print Center to generate a unique, immutable QR code for each production run. This ensures that the passport data matches exactly what's in that specific batch of products.
- Go to Print Center.
- Click "Create New Print Run".
- Select the product and quantity.
- Download the generated QR codes (PDF, PNG, or Avery Labels).
Step 5: Display on Storefront
Finally, show off your transparency! Use the PassportPro Theme Block to display a "Digital Passport" accordion on your product pages. This builds trust with high-intent buyers who care about sustainability.
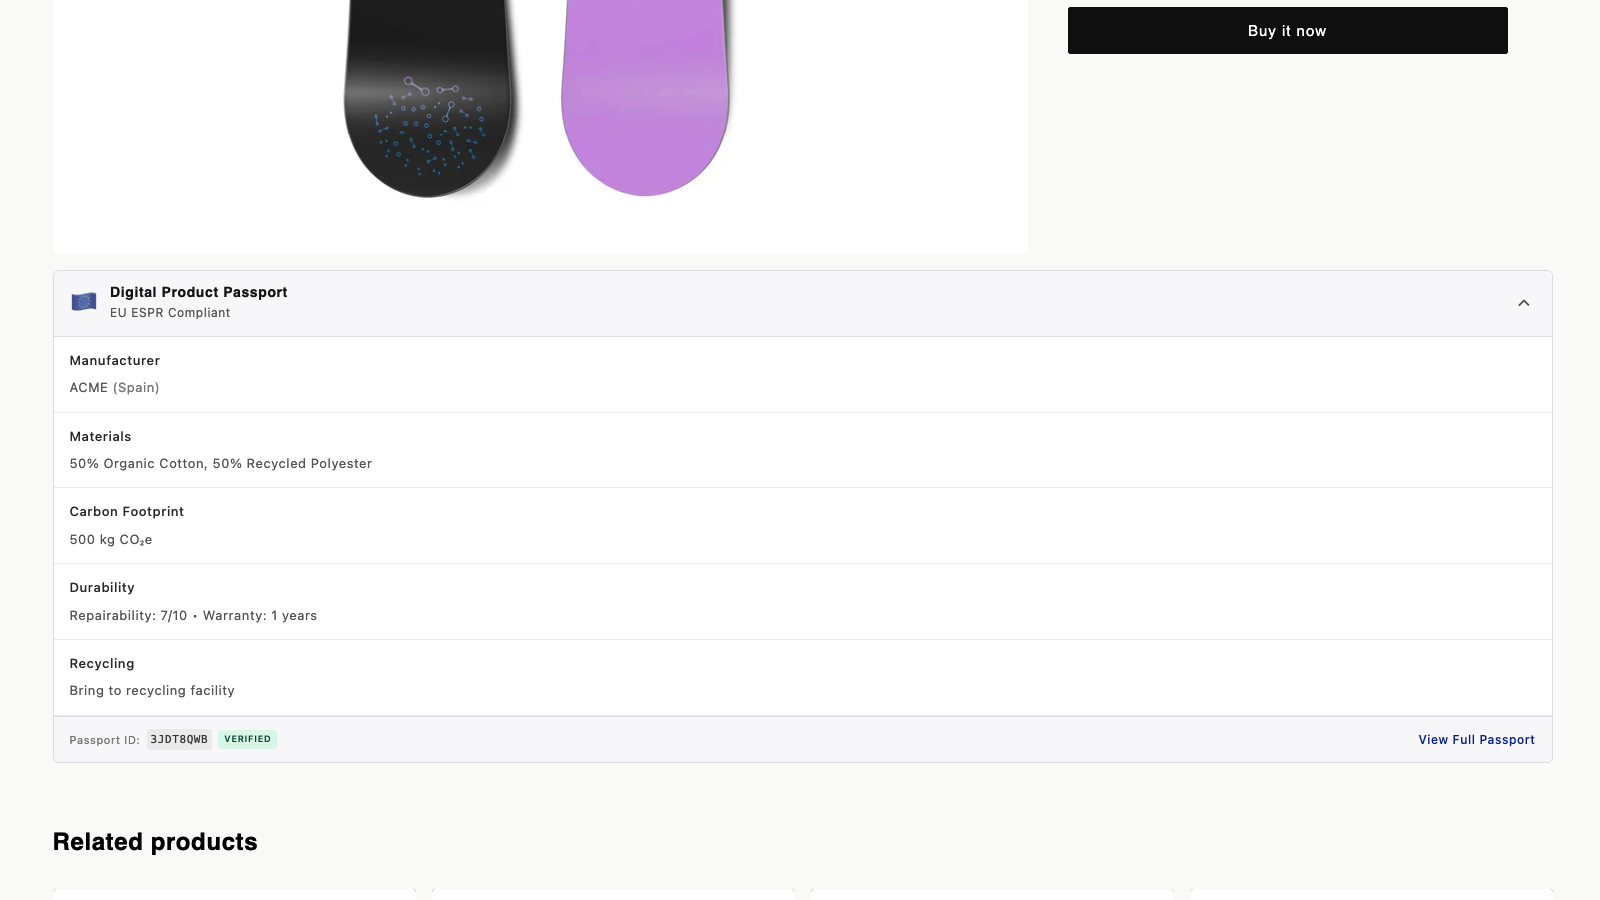
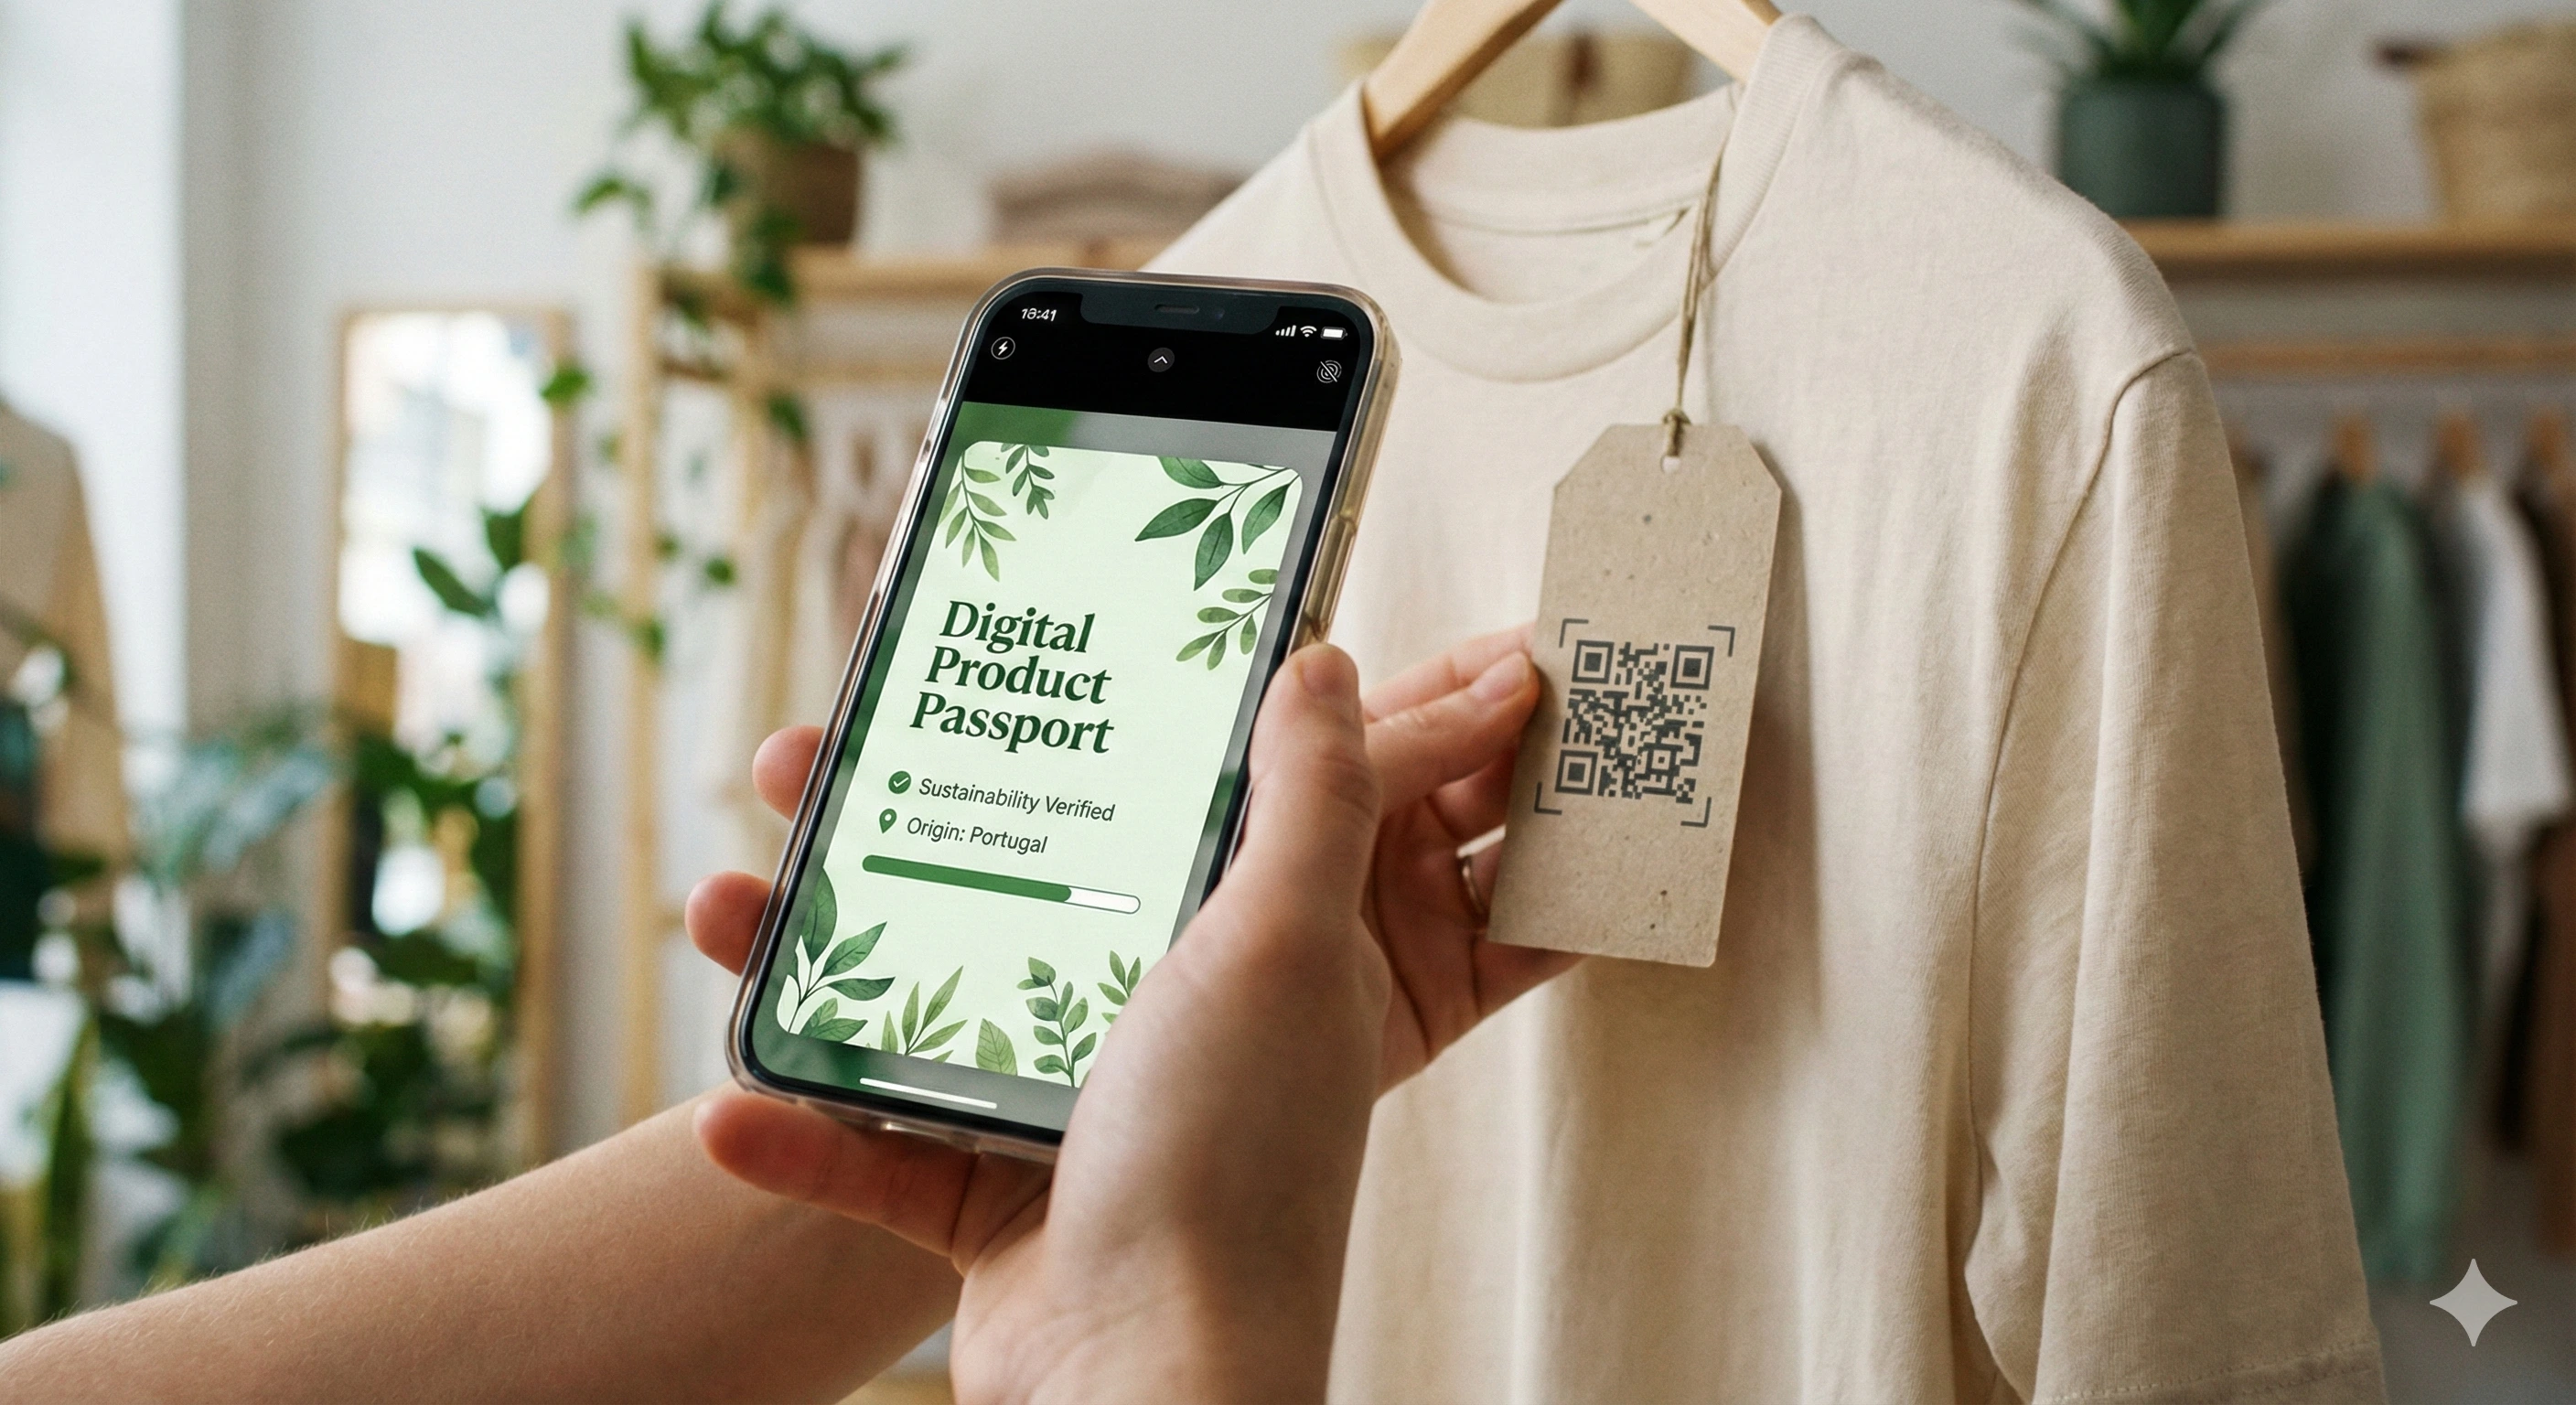
When a customer clicks "View Passport," they see a beautiful, branded breakdown of your product's journey.
Frequently Asked Questions
Can I use this for non-EU customers?
Absolutely. While built for EU compliance, transparency builds trust everywhere. Many US brands use it to highlight their sustainable sourcing.
What happens if I change my supplier?
Simply create a new Print Run for the new batch. The old products still resolve to the old passport data (via their specific QR code), while the new batch points to the updated info. This keeps you 100% compliant with traceability rules.
Is my data secure?
Yes. Your data is stored securely and you own it. We only publish the distinct "public" passport data to the resolver page.
Ready to get started?
Join hundreds of forward-thinking brands who are already compliant.